
Field dressing a deer is an essential skill for every hunter. Done properly, it preserves the quality of the meat and makes transporting your harvest much easier. With the right knife and technique, you can field dress a deer efficiently and cleanly in the field.
Essential Tools: Choosing the Right Knife
The most important tool for field dressing is a sharp, reliable hunting knife. A quality deer hunting knife with a drop-point blade gives you the control and precision needed for this task. The blade should be sharp enough to make clean cuts without requiring excessive pressure, which reduces the risk of puncturing internal organs.
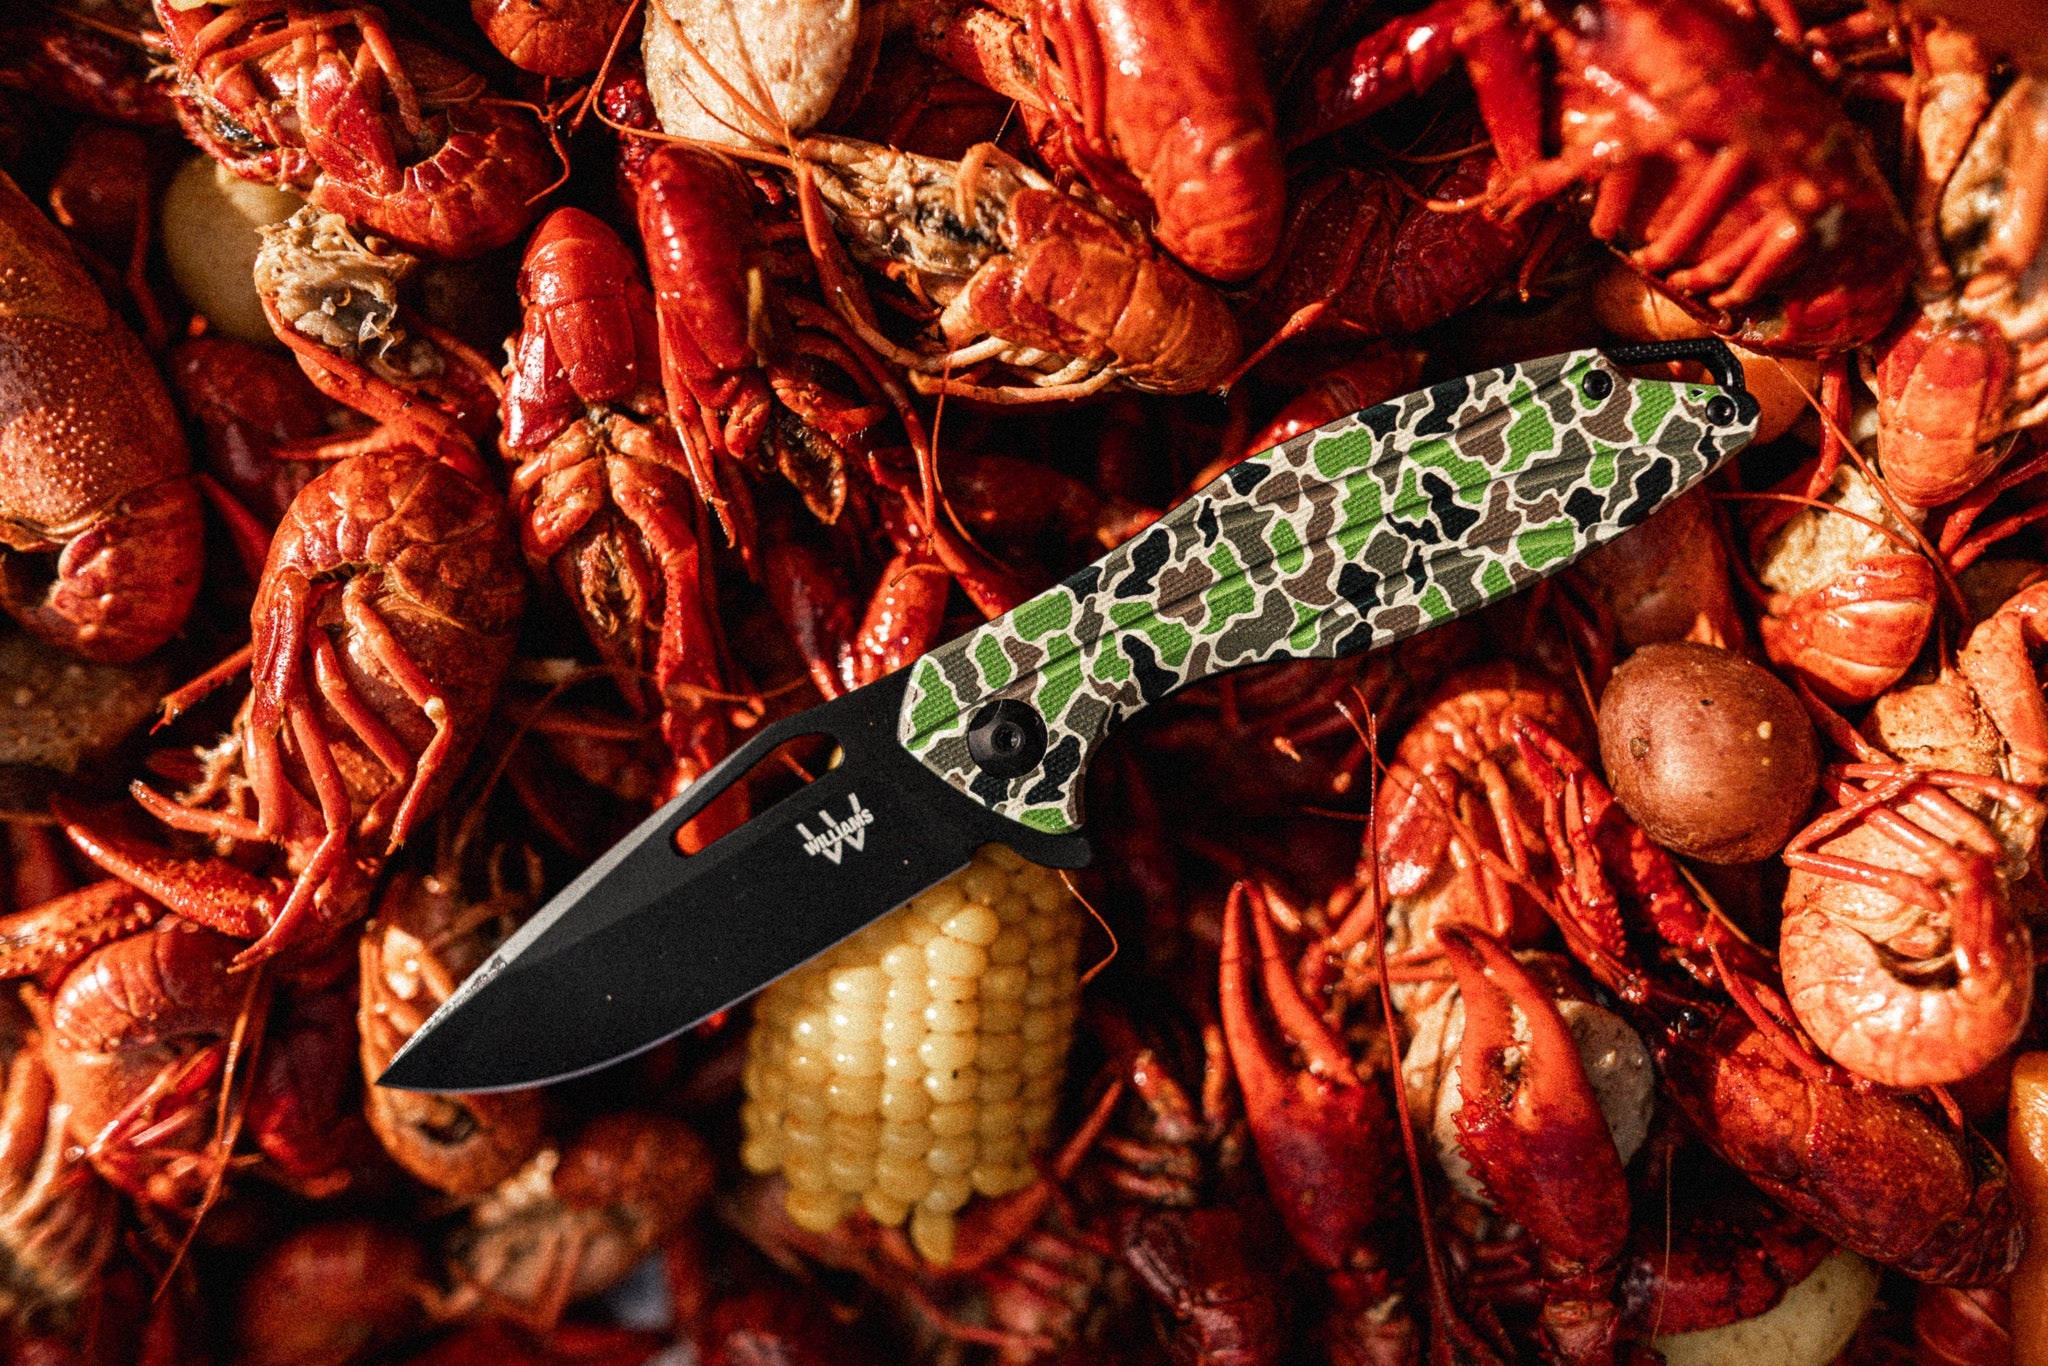
We recommend using a knife with M390 steel for superior edge retention - you want a blade that stays sharp throughout the entire field dressing process. A G-10 handle provides excellent grip even when your hands are wet or bloody.
Step 1: Position the Deer
Start by positioning the deer on its back with the head slightly uphill if possible. This positioning helps with drainage and makes the process easier. Make sure you have good lighting and a stable working position.
Step 2: Make the Initial Incision
Begin by making a shallow cut through the hide at the base of the breastbone. Insert your knife blade-up (with the sharp edge facing upward) and carefully cut down toward the pelvis. Keep the blade shallow to avoid puncturing the stomach or intestines.
Use your fingers to guide the blade and keep the internal organs away from the cutting edge. This is where a sharp knife makes all the difference - you need clean, controlled cuts.
Step 3: Open the Chest Cavity
Continue your cut up through the breastbone to the base of the neck. You may need to use more force here, or use a small saw if your knife can't cut through the bone easily. Once the chest cavity is open, you can begin removing the internal organs.
Step 4: Remove the Organs
Reach into the chest cavity and cut the diaphragm away from the rib cage. Then, carefully cut around the anus and reproductive organs, being careful not to puncture anything. Roll the deer to one side and pull the organs out, cutting any remaining connective tissue.
The entire mass of organs should come out together. Make sure to remove the windpipe and esophagus from the neck area as well.
Step 5: Clean and Cool
Once the organs are removed, wipe out the body cavity with clean cloths or paper towels. If you have water available, you can rinse the cavity, but make sure to dry it thoroughly afterward. Prop the chest cavity open with a stick to allow air circulation and cooling.
Knife Maintenance After Field Dressing
After field dressing your deer, clean your knife immediately. Blood and tissue can corrode even the best steel if left on the blade. A quick wipe-down and proper storage in your Whitetail Skinner's Kydex sheath will keep your knife in excellent condition for years.
Build Your Complete Hunting Kit
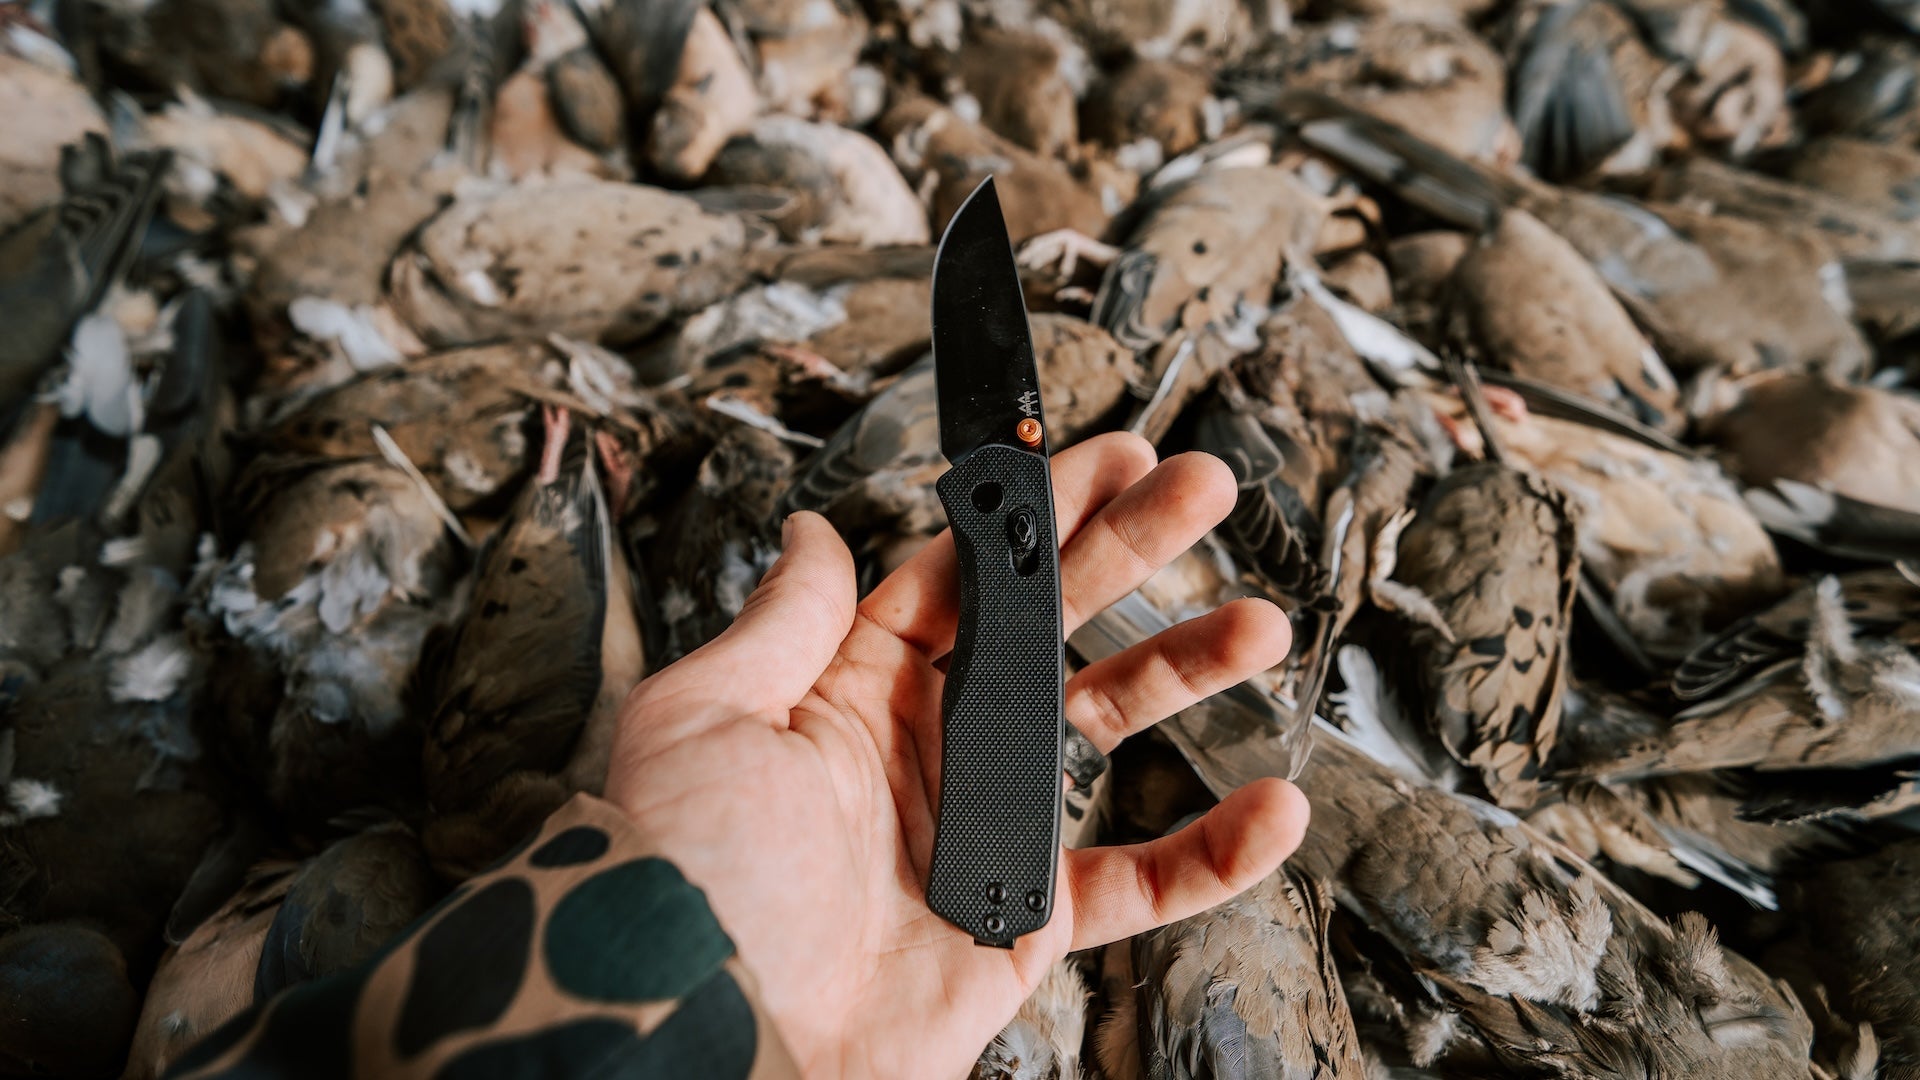
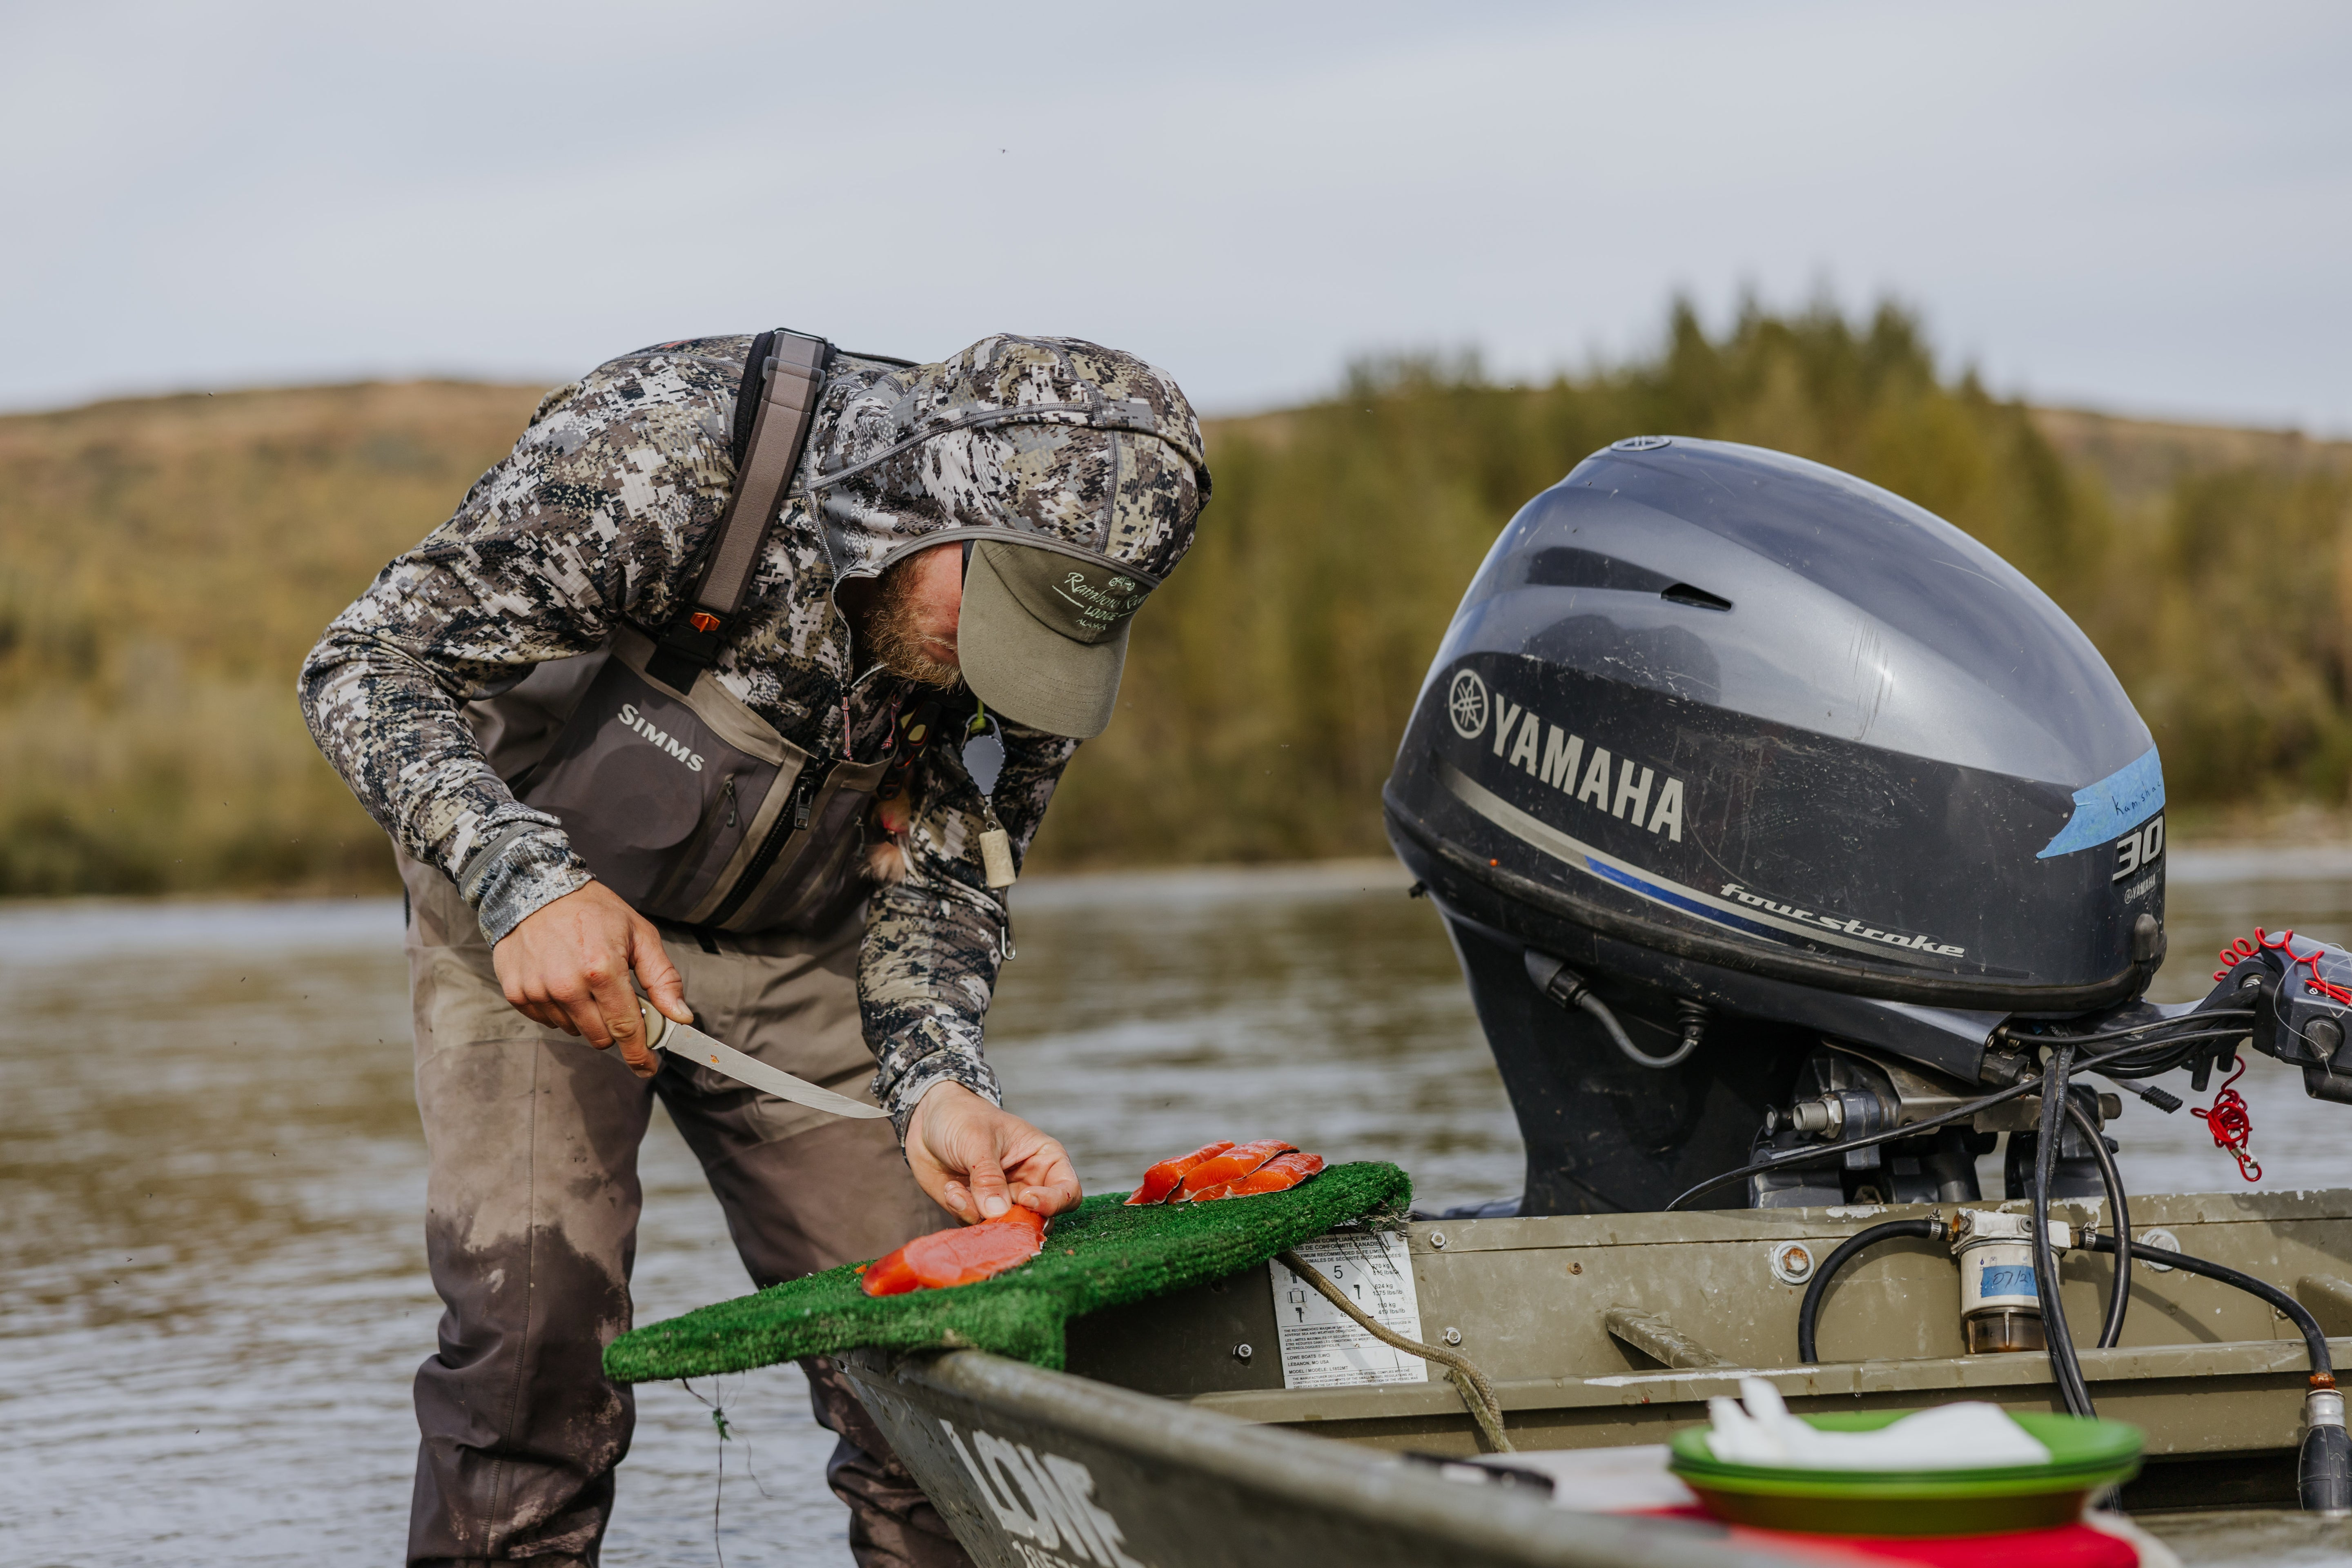
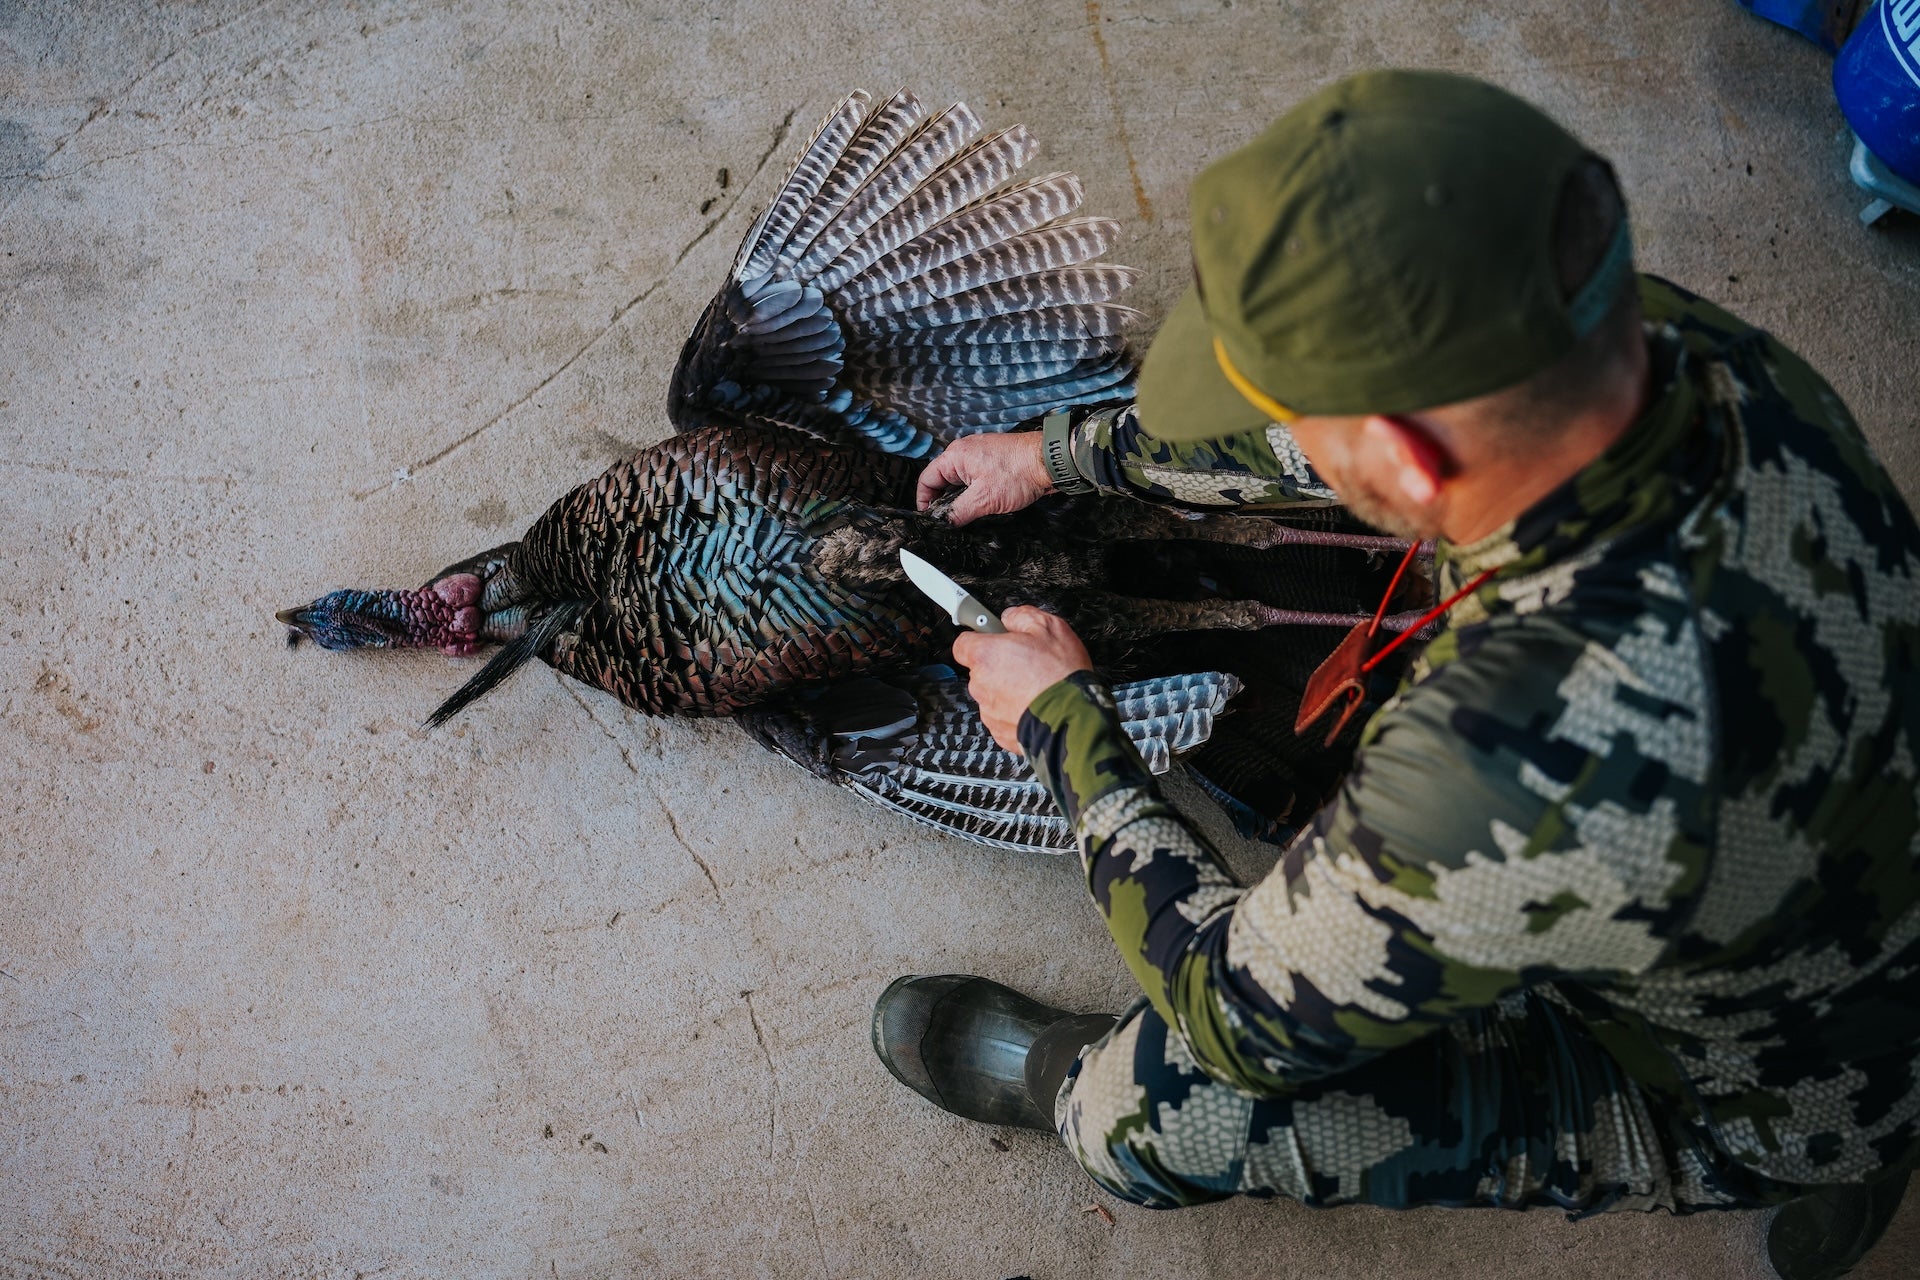
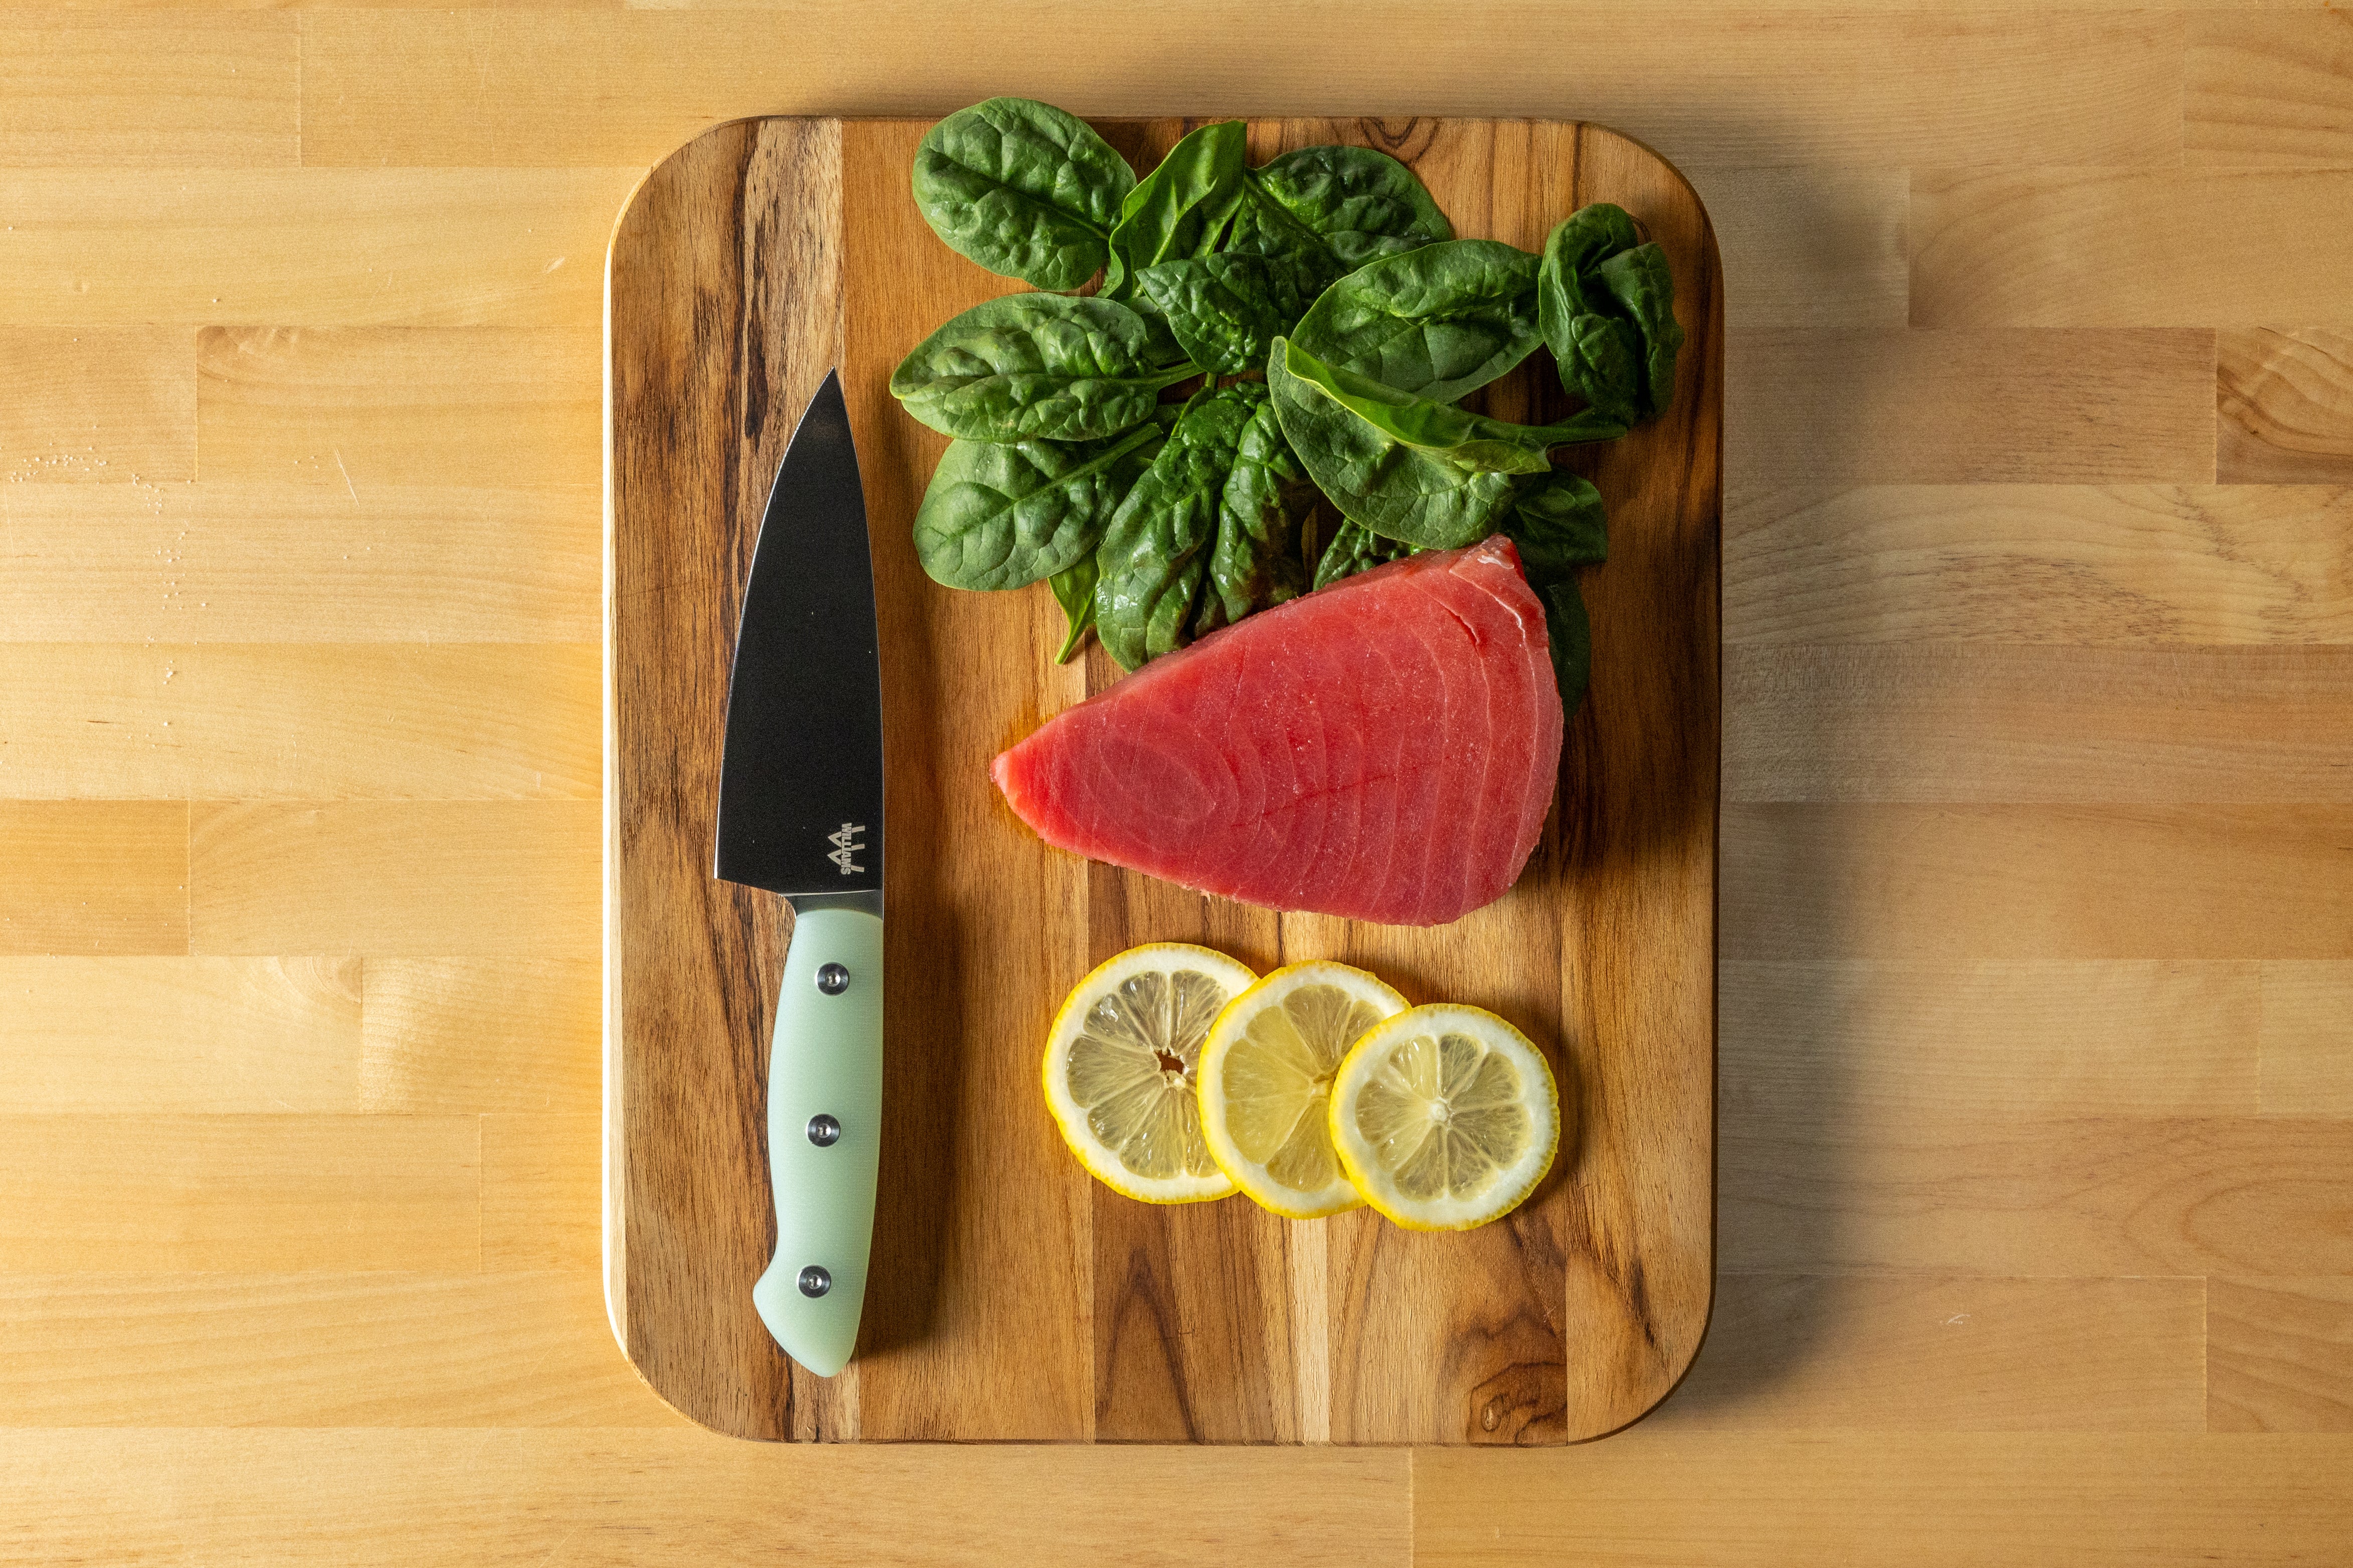
Beyond your primary field dressing knife, consider having specialized knives for different game. Our complete hunting knife collection includes options for deer, bird, and big game processing. Having the right tool for each job makes you more efficient and successful in the field.
Master these field dressing techniques and invest in quality tools, and you'll be processing your harvest like a pro in no time.


Share:
The Best Knife for BBQ
The Best Knife for Deer Hunting