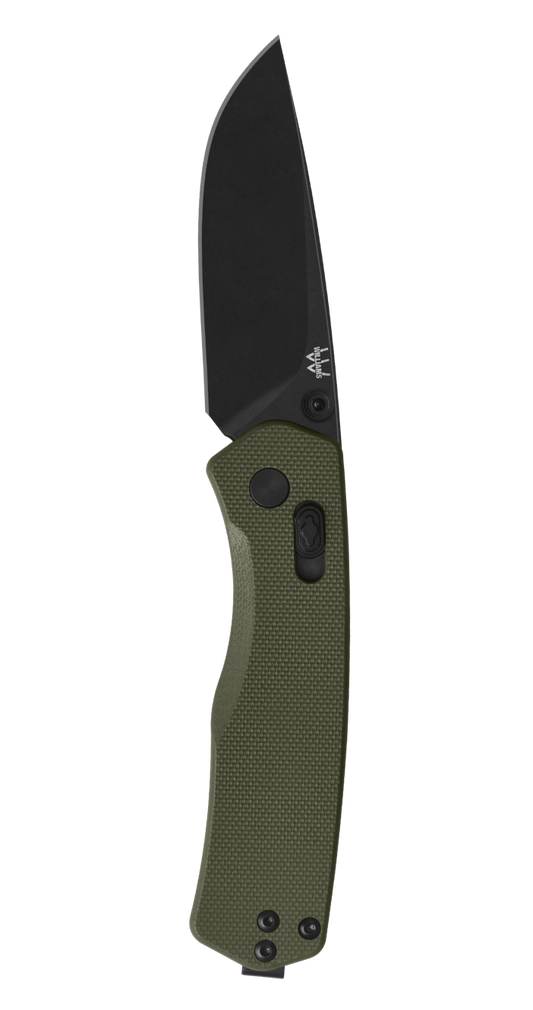
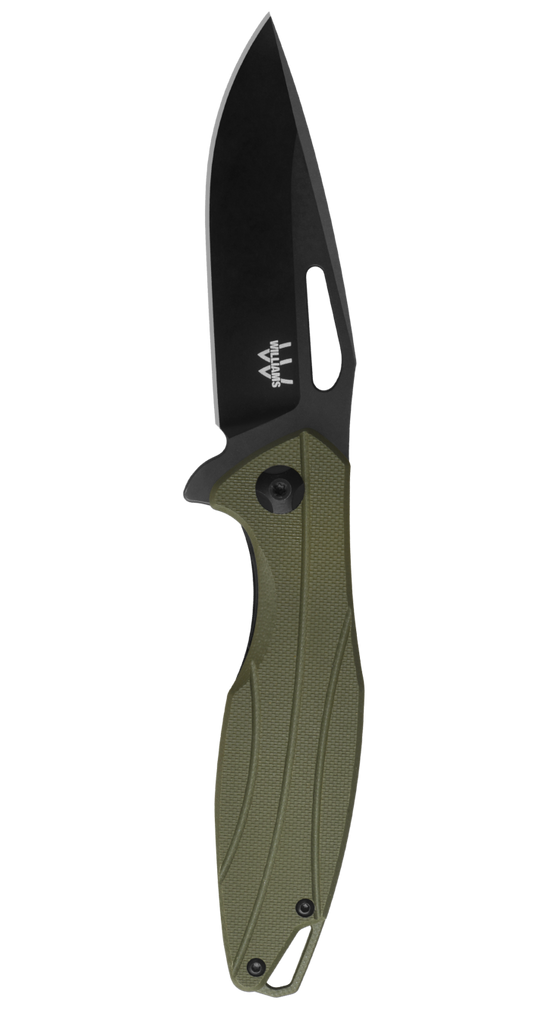
We put our knives to the test this Halloween season and found the winning knife to carve a pumpkin with.

Spooky season is officially here, which means one thing: It’s time to cover that table with newspaper and get your hands gooey as you carve up some pumpkins with your family and friends. It’s a tradition we look forward to every year and love to see how creative everyone gets with their design of choice. In case you’re stumped, and since we have some awesome diehard fans, this year we whipped up our new logo as a template you can use to show off your love for Williams (Click Here For WKC Pumpkin Template).
The Best Pumpkin-Carving Knives
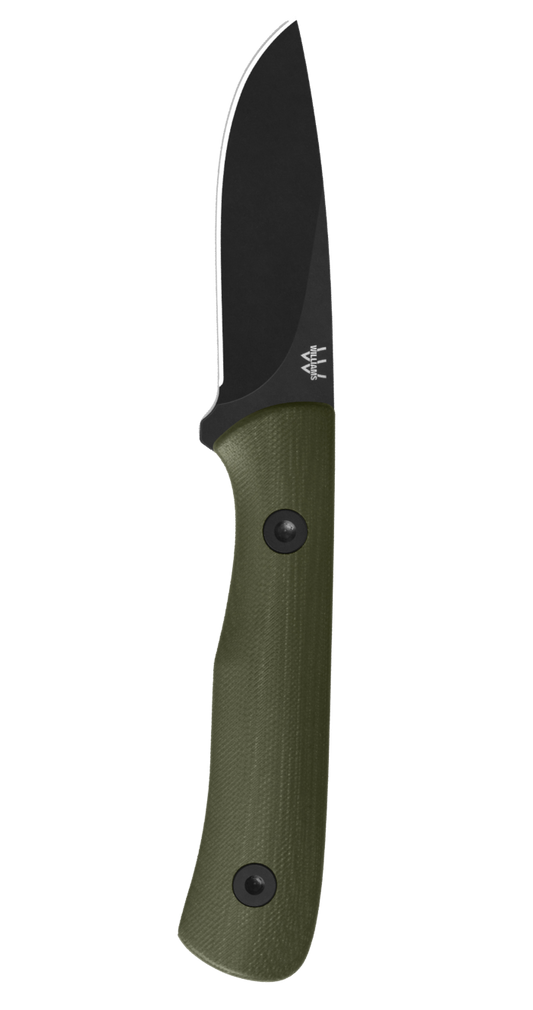
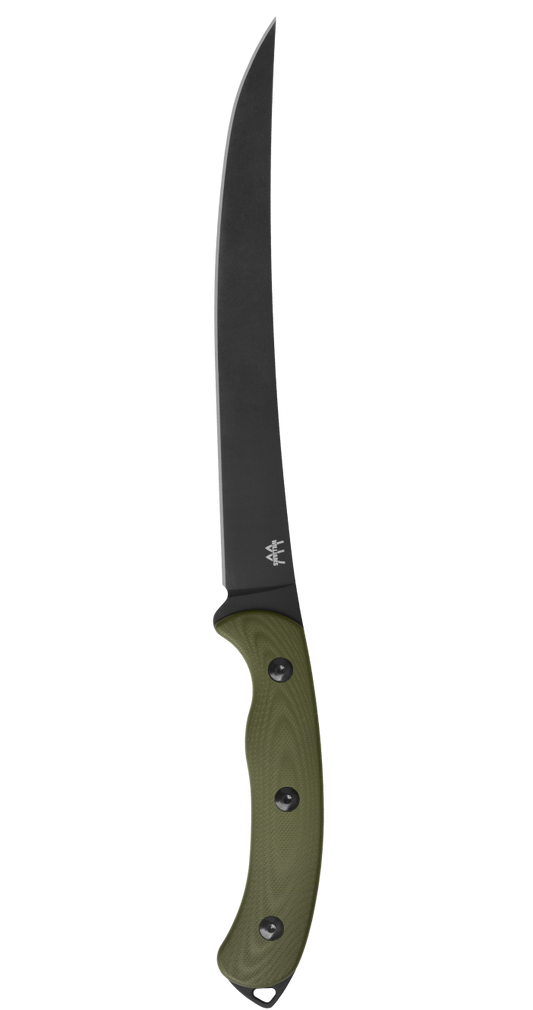
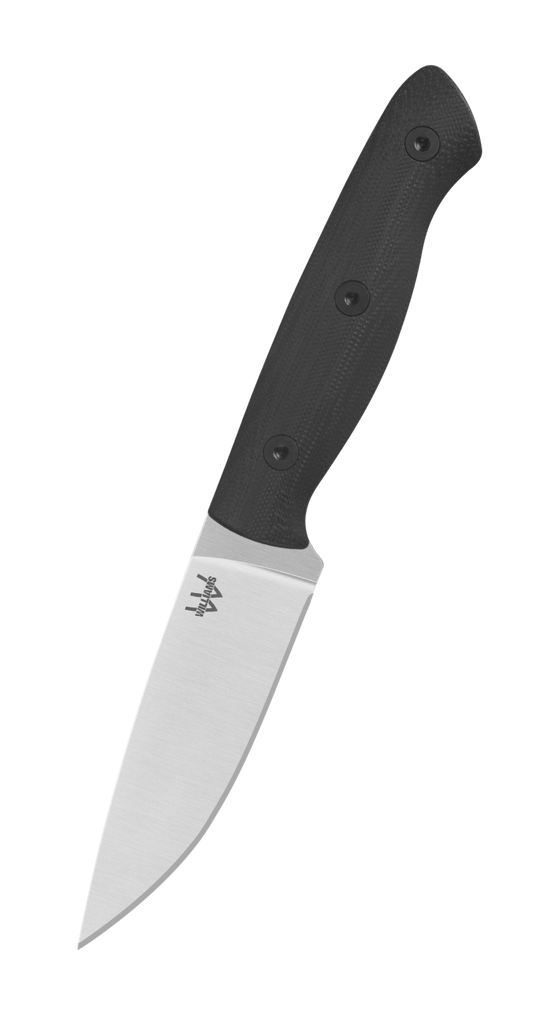
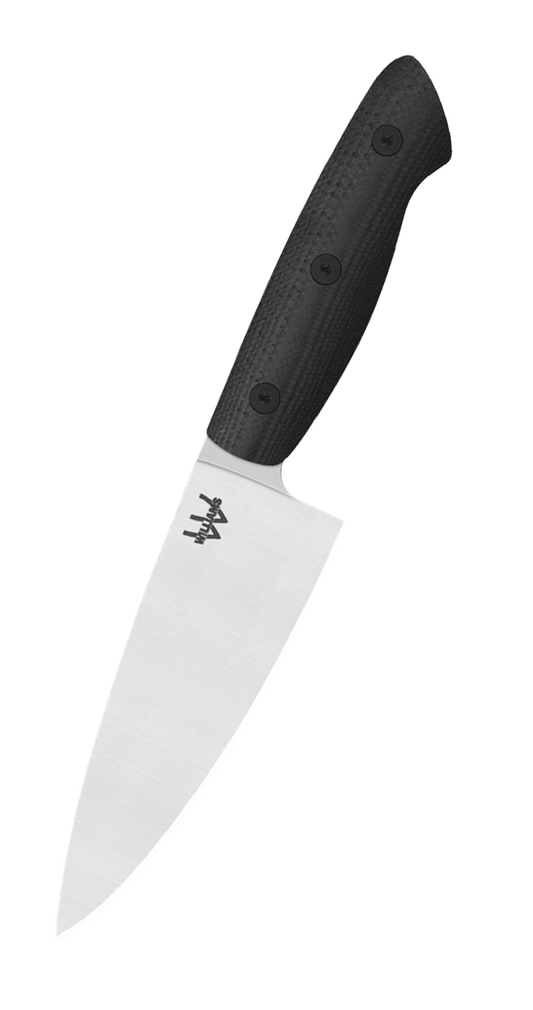
So the real question is: Which Williams knife is the best for carving your pumpkin? Knowing which knife will work the best for any job, is the most important step when selecting a blade. First, we definitely want to use a fixed blade knife, so we went ahead and tested out the Fillet Knife, Whitetail Skinner, and Bird Knife. The first one we crossed off the list was the Whitetail Skinner as the blade is just a little too thick to carefully craft our intricate designs. We’ll save that one for the field on our next deer-hunting trip. Next up was the Bird Knife. The smaller profile made it nice and easy to tackle the top opening of the pumpkin, but again we found the blade to be a little bit too wide down toward the tip when we got into the detailed shapes in the different designs we tried out.

That brings us to our favorite knife to carve a pumpkin with: the Fillet Knife. Its thin and ultra-sharp blade, combined with the flex and length of the knife, makes the Williams Fillet Knife the best knife to carve a pumpkin. Just like working around tiny bones, this knife can easily get into some tight areas, allowing you to add as much detail as you want to your Jack-o’-lanterns.
How to carve a pumpkin:
1. Create a design. With so many great options out there, it’s definitely hard to choose just one, but that’s what makes pumpkin carving fun. Grab a few pumpkins and try some different designs! We’re a big fan of having a few pumpkins on the doorstep to greet the neighborhood kids as they stop by for some trick-or-treating. If you’re using a template, that’s great, or you can always free-hand a drawing right onto your pumpkin.

2. Cut the pumpkin top off. You’ll want to cut a circle around the stem of the pumpkin and be sure to make it wide enough to fit your whole hand into it (important for the next step). Be careful with your cut to keep it consistent here, as the top will need to go back on the pumpkin when all of your carving is done.
3. Remove all of the gooey insides of the pumpkin. With a metal spoon, go ahead and begin to dig out the stringy flesh and seeds from the pumpkin. Pro tip: separate out the seeds into their own bowl. Why? Because we love to make some roasted pumpkin seeds with these!

4. With your template taped onto the pumpkin, use a micro screwdriver (think eyeglass tools) to begin poking holes every 1/8” – ¼” along the appropriate lines of the template. Once all holes are complete, take the template off and set aside close by for reference.

5. With your Fillet Knife, begin to cut along your template holes. Be careful as you approach corners as to not let the knife cut past your outlines. The flex of the Fillet Knife makes it easy to really get into some fine detail work here. As you cut out each shape, be careful when removing them from the pumpkin. Some may easily push into the body, while others may be easier to push out from the inside.

6. Illuminate the pumpkin. Once your design is completely carved, it’s time to light your pumpkin up! We prefer the traditional candle approach here. Place a small glass jar candle inside on the floor of the pumpkin, light it, and replace the top of the pumpkin. Turn some lights off and watch your pumpkin glow!


